
The coolest thing to find under a microscope is a microscopic bug swimming around! And for new microscopists, that’s often your goal. It certainly was for me!
 So in this article I’m going to walk you through how I found my first ever critter. He wasn’t a tardigrade (I really want to find a tardigrade), but he was definitely pretty cool.
There are some important steps involved to try to maximize your chances of success. And I’m by no means an expert at this, but I learned a thing or two through trial and error.
So let’s get started.
> This article is from my series on simple microscope projects for beginners
Where to find Moss that Contains Microscopic Bugs
To start, I got a bunch of glass jars and plastic containers and went for a walk to my local park. On the way, I gathered moss from a variety of different sources.
I wanted to get moss from various locations to maximize my chances of finding a bug. Different types of sources included:
1. Wet moss. This is moss that’s recently been wet because it’s on a damp stone wall or simply was exposed to recent rain.
2. Dry moss. This one was a little harder as I live in Vancouver, where it rains more days than not.
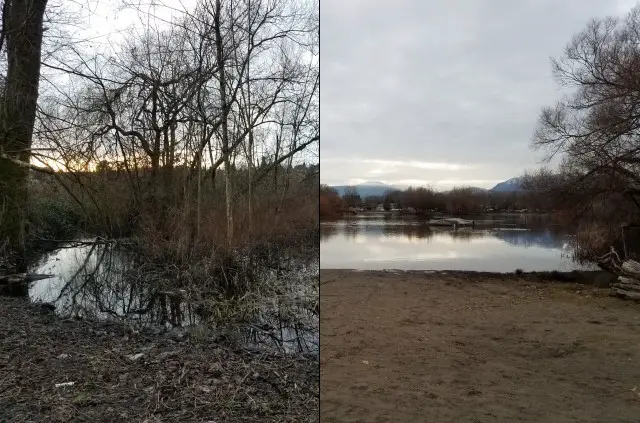
3. Near Waterways. There’s usually more life near large water sources. On my walk, I walked right around this large lake where I collected some water samples (for another project) as well as some moss samples from shrubs that grew right by the water. Here’s the waterway I collected samples from:
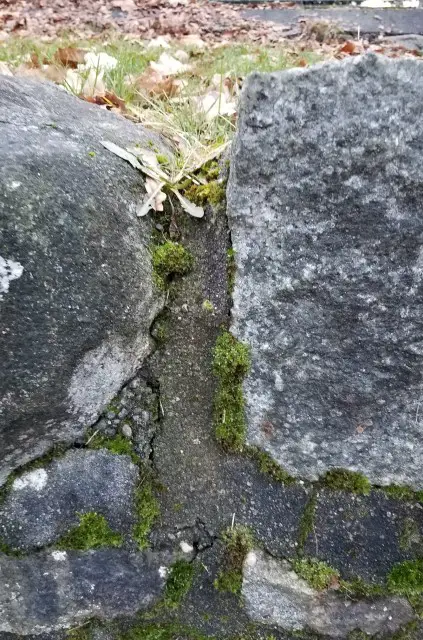
4. From Stone. I’ve been told Tardigrades particularly like hanging out in moss near stone. So I made sure to get several samples from stone walls like the one below:
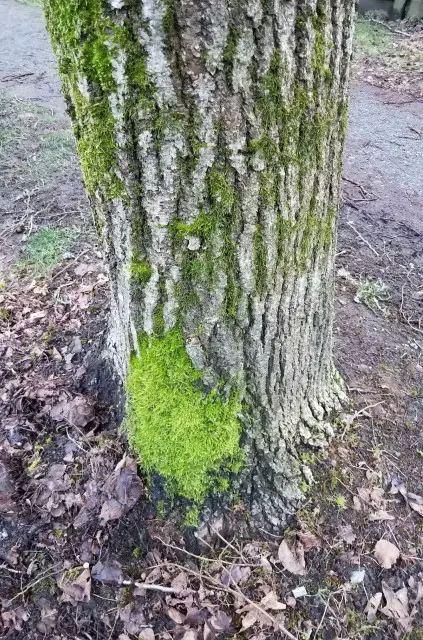
5. From Trees. I noticed a lot of trees with moss on them on my walk. I took several samples from trees like the one shown here:
Overall, I collected five samples. I tried to collect moss without too much soil below, but it wasn’t too much of a worry if there was soil mixed in.
How to draw out the Bugs in Moss
When I got home, I added a small amount of water to each container. It was about 1 to 2 cm deep, enough to just cover the moss if I padded it down into the water.
Then, I waited 2 hours to let the bugs emerge out of the moss and swim around. Here’s a picture of some of my containers as I let them sit:

When I came back to the moss, I did see several bugs swimming around in the water.
Sample 1: Water
I took samples using a dropper. I tried to scoop up some of the bugs I could see with the naked eye, but I also tried to hold the dropper up close to the hiding spots in the moss to try to draw some of the bugs up. Generally, I assumed there would be more bugs in the moss than swimming around in the water.
Sample 2: Moss
I also took some clippings of moss and placed them on a prepared slide (see discussion below). I saw on YouTube that several people had success by taking moss samples directly, rather than just water. I’d also had more success in my pond experiment when I looked at clippings of water plants rather than simply the pond water, which was more or less just dirty water.
How to Prepare the Slides
I went about preparing several slides for this experiment. Of the 10 slides, I found bugs in 2 of them. So it’s important to have patience and take multiple samples until you find what you’re looking for. With patience and persistence, you’ll come across something!
Sample 1: Water
The water samples contained no moss on them. I simply used the dropper to collect drops of water from around the moss then dropped one drop of water onto each slide. I repeated this 5 times for 5 different slides, aiming to collect water from different areas around the moss each time.
Remember to only place one or maximum two drops per slide. Under the microscope, one drop of water ends up being a lot to scan over to see whether you managed to scoop up any bugs.
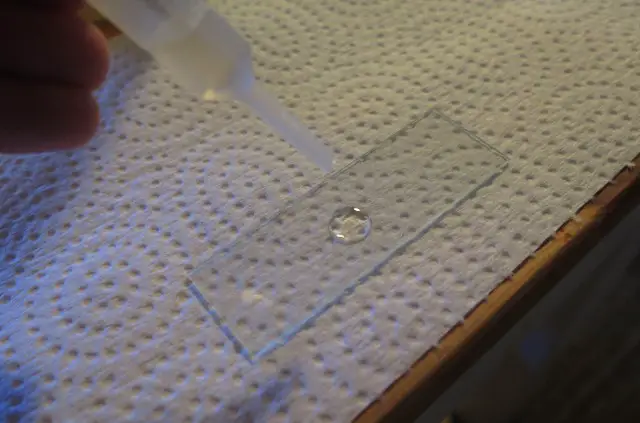
Here’s a picture of one of my prepared water slides:
Sample 2: Moss
I observed that others had success by looking directly at the moss. So, for the second sample, I used two pairs of tweezers to take small samples of moss from the container and place them on a slide. Again, I did 5 slides with a sample of moss from a different area of the moss, or different container altogether, each time.
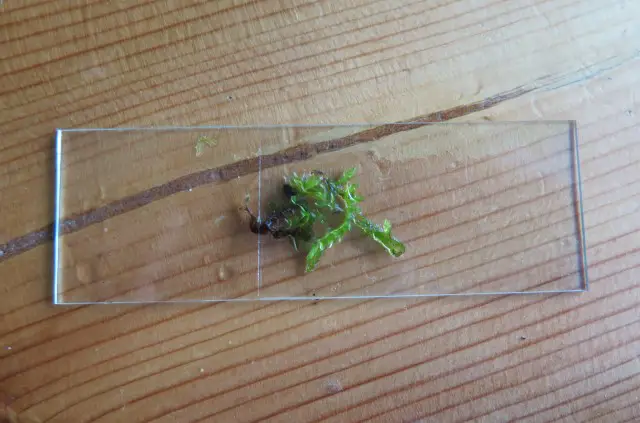
For the moss, I found it easiest to place a slide cover on top of the moss and used the tweezers to push it down flat. This helped with focus (under high magnification even the slightest depth can really ruin your viewing experience) as well as flattening out the moss to help get the best vision possible.
Below is an image of a prepared moss slide from this experiment:
Putting it Under the Microscope
Now you’ve got the microscope slides prepared, all you’ve got to do is place them under the microscope and see what you can find! Be patient here. You’re not going to get a bug every time.
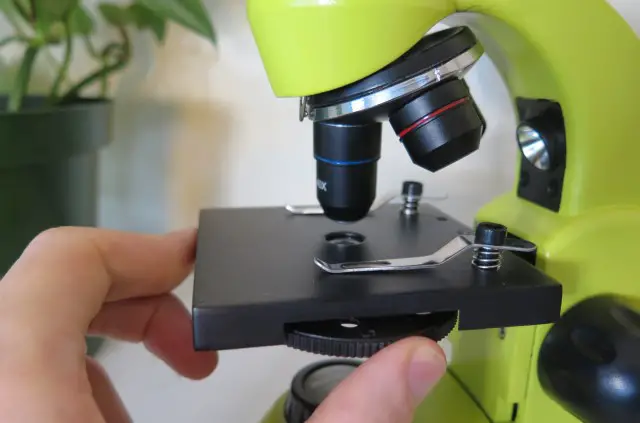
If you’re not sure how to use a microscope, see this guide. But here’s a brief summary:
- Set the sub-stage light dimmer to the lowest setting.
- Turn the light on.
- Turn up the dimmer slowly until it’s full strength.
- Fully lower the stage.
- Place your specimen above the light source on the stage.
- Set the 4x scanning objective (red stripe) to the viewing position.
- Slowly raise the slide using the coarse focus knob until you obtain focus.
- Scan around to see if you can find any critters.
- If you do find a critter, center it in the middle of your viewport.
- Switch to the 10x low power objective (yellow stripe) for higher magnification.
- Re-focus using the fine focus knob.
- Enjoy – and take a photo if you want!
What you might Find!
Of the 10 samples, I found 2x bugs. I was unable to identify the names of either of these bugs, but I sure was excited to find them!
The first bug was a tiny little worm. It was cool that you could actually see through the worm and see what it had eaten recently. And in fact I saw it trying to eat something in the water sample, but unfortunately I didn’t get that on camera. Below is the camera sample I collected. Apologies for the poor vision:
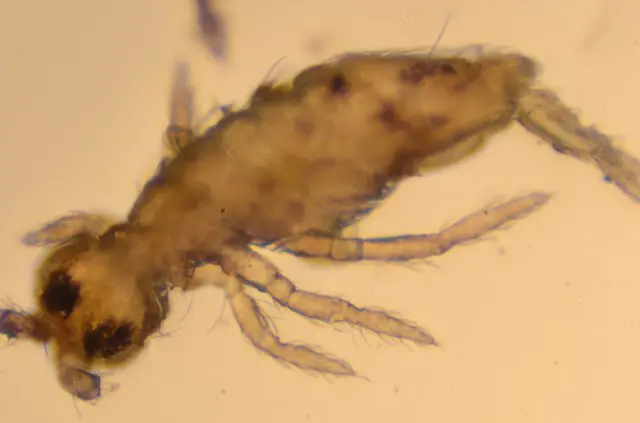
The second critter I found was a little more exciting because it had eyes and legs! Unfortunately it was dead, and I wonder if I managed to drown it by filling the moss samples with water. I’d also been told that it’s good to use rain water rather than tap water to avoid killing the bugs, so that might have been an issue as well. Here’s the image of the second bug:
Conclusion
Finding critters to look at under a microscope is a bit like catching Pokémon (or going fishing?). Sometimes you spot one and sometimes you don’t. And every once in a while, you might even get a rare or beautiful creature that makes your day! I’m going to keep collecting moss samples until I find that elusive Tardigrade that I’ve always wanted to catch. But for now, I was happy with the success of this first outing, and I’ll keep you updated on this site if I do ever manage to catch that Tardigrade that I know lives in moss by stone.

Hi, I’m Chris and I run things around here! I share all my microscopy experiments, microscope information and tricks, how to guides, and microscope reviews in the articles on this site. Browse around to see what you like (I recommend the experiment ideas section) or connect with me on any of the social platforms listed below.