
Microphotography is the art of creating photographs that are not visible to the naked eye. You often need a microscope or similar magnifying toy to view these photographs.
 Microphotographs are generally novelties and toys used by microscopists and children to play around with magnification.
Photomicrography, on the other hand, is the art of taking photographs of objects through a microscope in order to share the findings of a microscopy experiment.
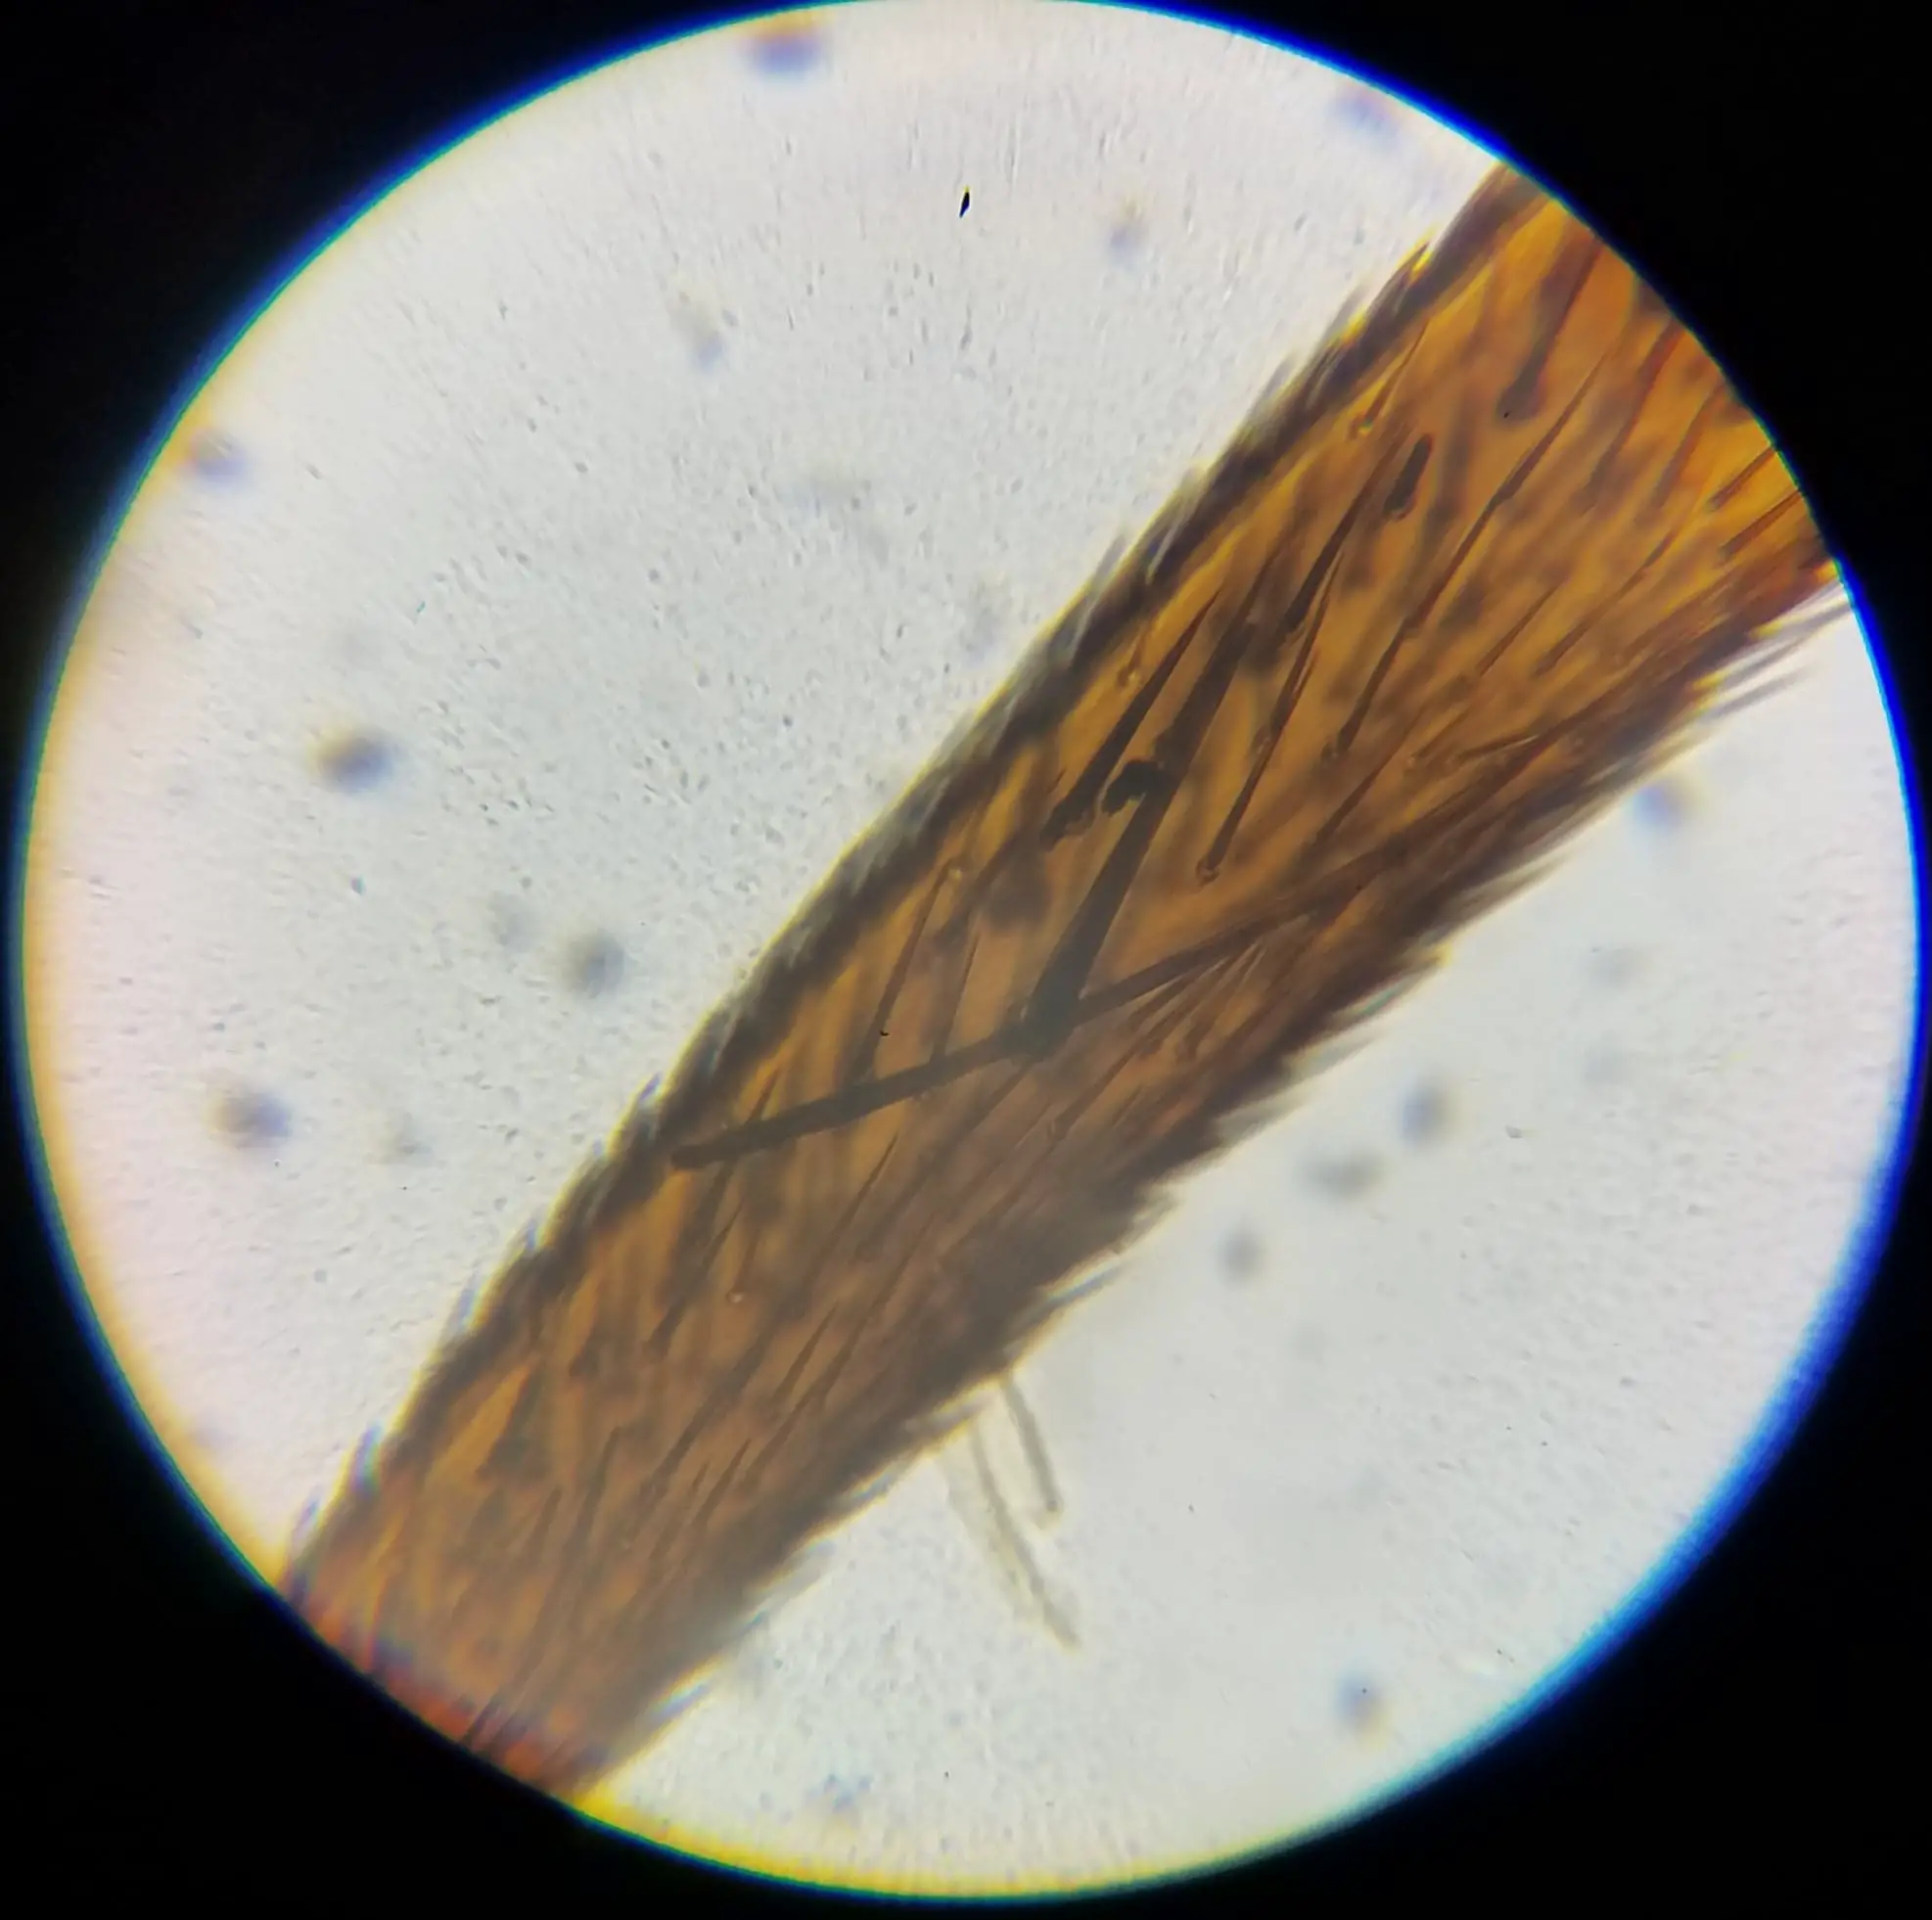
Picture: A simple photomicrograph of a fly’s leg that I took at 160X by simply holding my phone camera up against the microscope’s eyepiece.
> Read Also: How to Take Pictures with a Microscope
Microphotography vs Photomicrography
1. Microphotography
Microphotography is understood to have originated in 1851 when Englishman John B. Dancer created 3mm square photographic images of written text, the Queen and the Royal Family. These images could only be viewed in their full glory through a microscope, which weren’t very common in those days!
In 1857, Prudent Dragon from France created special viewing lenses for looking at microphotographs. This removed the need for a microscope to view the image, and these viewing lenses became popular toys at the time.
Dragon named the microphotographs placed in his devices ‘Stanhopes’ in homage to the inventor of the lens used in the devices. According to Osterman (2007, p. 94), the most common remaining Stanhopes feature a cross and the Lord’s Prayer.
2. Photomicrography
Photomicrography is used widely by hobbyists, teachers, medical practitioners and scientists to share images of specimens viewed under a microscope.
HOBBY PHOTOMICROSCOPY
There is a budding hobby microscopy community online who share their photomicrographs daily. They use forums such as:
- Amateur Microscopy on Facebook
- r/microscopy on Reddit
A common photomicrograph shared in these forums is that of the tardigrade, a cute organism found in moss and other wet outdoor spaces that all microscopy hobbyists seek out for themselves.
PROFESSIONAL PHOTOMICROSCOPY
Veterinarians, biologists, medical professionals and scientists will similarly often share their photomicrographs to find people who might be able to identify the microorganisms in the images to help diagnose diseases or identify the spread of microorganisms through habitats.
Similarly, you’ll likely have seen photomicrographs taken by electron microscopes of DNA and viruses (such as the famous coronavirus image) which are shared by scientists as teaching materials to educate the wider public about the microcosmos.
PHOTOMICROGRAPHS IN TEACHING
Science teachers also regularly use photomicrographs to teach students how to conduct microscopy. The photographs can be used as exemplars for students, or to help students to identify the structures of cells and microorganisms.
A common photomicrograph used in middle school biology is that of the onion cell. Onion cells are easy to identify under a microscope and simple in structure, making them one of the first lessons students take in beginner microscopy.
How to Conduct Photomicrography
Photomicrography can be conducted in several ways:
1. With a Microscope and Cell Phone Camera
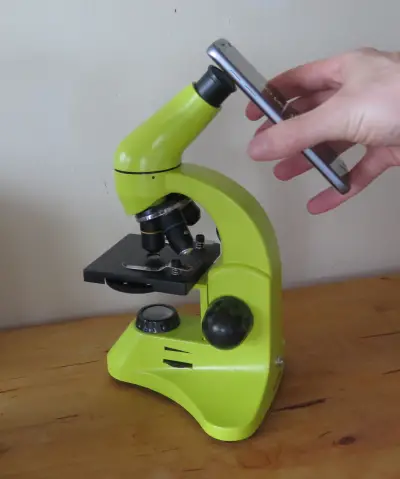
Image: The easiest way to conduct photomicrography is with a simple microscope and cell phone camera.
The simplest (but perhaps lowest quality method) is to use a cell phone camera and hold it up against the eyepiece of the microscope. While the quality of the image won’t be nearly as good as other methods, this remains one of the easiest and cheapest methods out there for amateurs to explore with photomicrography.
2. Using a Digital Microscope
Today, there are digital microscopes with built-in cameras. These are cheap ways to get involved in digital microscopy, but are not nearly as effective as methods such as DSLR cameras.
It’s also rarely the care that you want to buy a dedicated digital microscope when you already have a perfectly good microscope at home that you can attach a camera to. That’s where the next two methods come in useful.
3. Using a Microscopy Camera
Microscopy cameras are cameras specifically designed to fit into microscope ocular tubes. These cameras are commonly purchased in bundles with trinocular microscopes (which have a dedicated ocular tube for photography).
There are a few downsides dedicated microscopy cameras. First is that they rarely have flash, which many people like to use to achieve quality images (this is hit and miss, depending on the situation, as it can interfere with the function of the sub-stage lighting).
Another is that dedicated microscopy cameras are much more expensive for less value than a DSLR camera. They’re a niche market consumer good that aren’t produced in enough volume to get value for money.
Lastly, USB 2.0 microscopy cameras often bottleneck the transfer of video footage to a computer, leading to low frame rates for videography. (A USB 3.0 camera can overcome this).
4. Using a DSLR Camera with a mounting Lens
The final – and best quality – option is to purchase a mounting lens for a DSLR camera. Simply remove the DSLR lens, insert the mounting lens, and place it in the ocular tube. This method gets the best quality images and video and, if you already own a DSLR camera, only sets you back the cost of the mount – which is usually around $120.
Examples of Photomicrographs
The above photomicrograph is of a fly leg at 160X taken with a mobile phone held up against a microscope eyepiece. Looking at fly legs is a common activity in microscopy classes to see how on earth flies manage to stick to the ceiling. The answer? There are pores at the end of the legs that shoot out sticky goo used to attach the fly to the wall. Now you know!
Conclusion
While the two terms seem very similar to the extent they confuse many people, they’re pretty esoteric terms and many people won’t really know the difference. Remember though – one is an image of tiny things, and the other is just a tiny little image!
That might seem like a silly way to remember things, but it’s how I get by.
REFERENCES
Osterman, M. (2007). Introduction to photographic equipment, processes, and definitions of the 19th Century. In: Peres, M. R. (Ed.) Focal Encyclopedia of Photography: Digital Imaging, Theory and Applications, History and Science. (4th Ed.). (p. 94). Amsterdam: Focal Press.

Hi, I’m Chris and I run things around here! I share all my microscopy experiments, microscope information and tricks, how to guides, and microscope reviews in the articles on this site. Browse around to see what you like (I recommend the experiment ideas section) or connect with me on any of the social platforms listed below.